Living in a smoke house is not fun. The HVAC is running almost constantly to filter the air indoors. I try to avoid projects that will emit any noxious vapors to compound the damage to my lungs.
This past week I have been working on a caboose project that had its roots in the early 1980's on my HO SP turn at running the Oregon, California and Eastern. That layout was converted in late 1985 into a British Railways fictional station named St. Stephens set in the mid 1950's in Cheltenham, Gloucester after an extended visit to the UK culminating in an extended stay with my cousin Carol who lives near there and visits with here mother nearby. That lasted until 1993 when on the heels of a divorce I moved to Walnut Creek. Anyway the cupola and end platforms were finally used to build a 3 foot distance model of an SP C-30-1 as rebuilt with AB brakes and a straight sided cuplola.
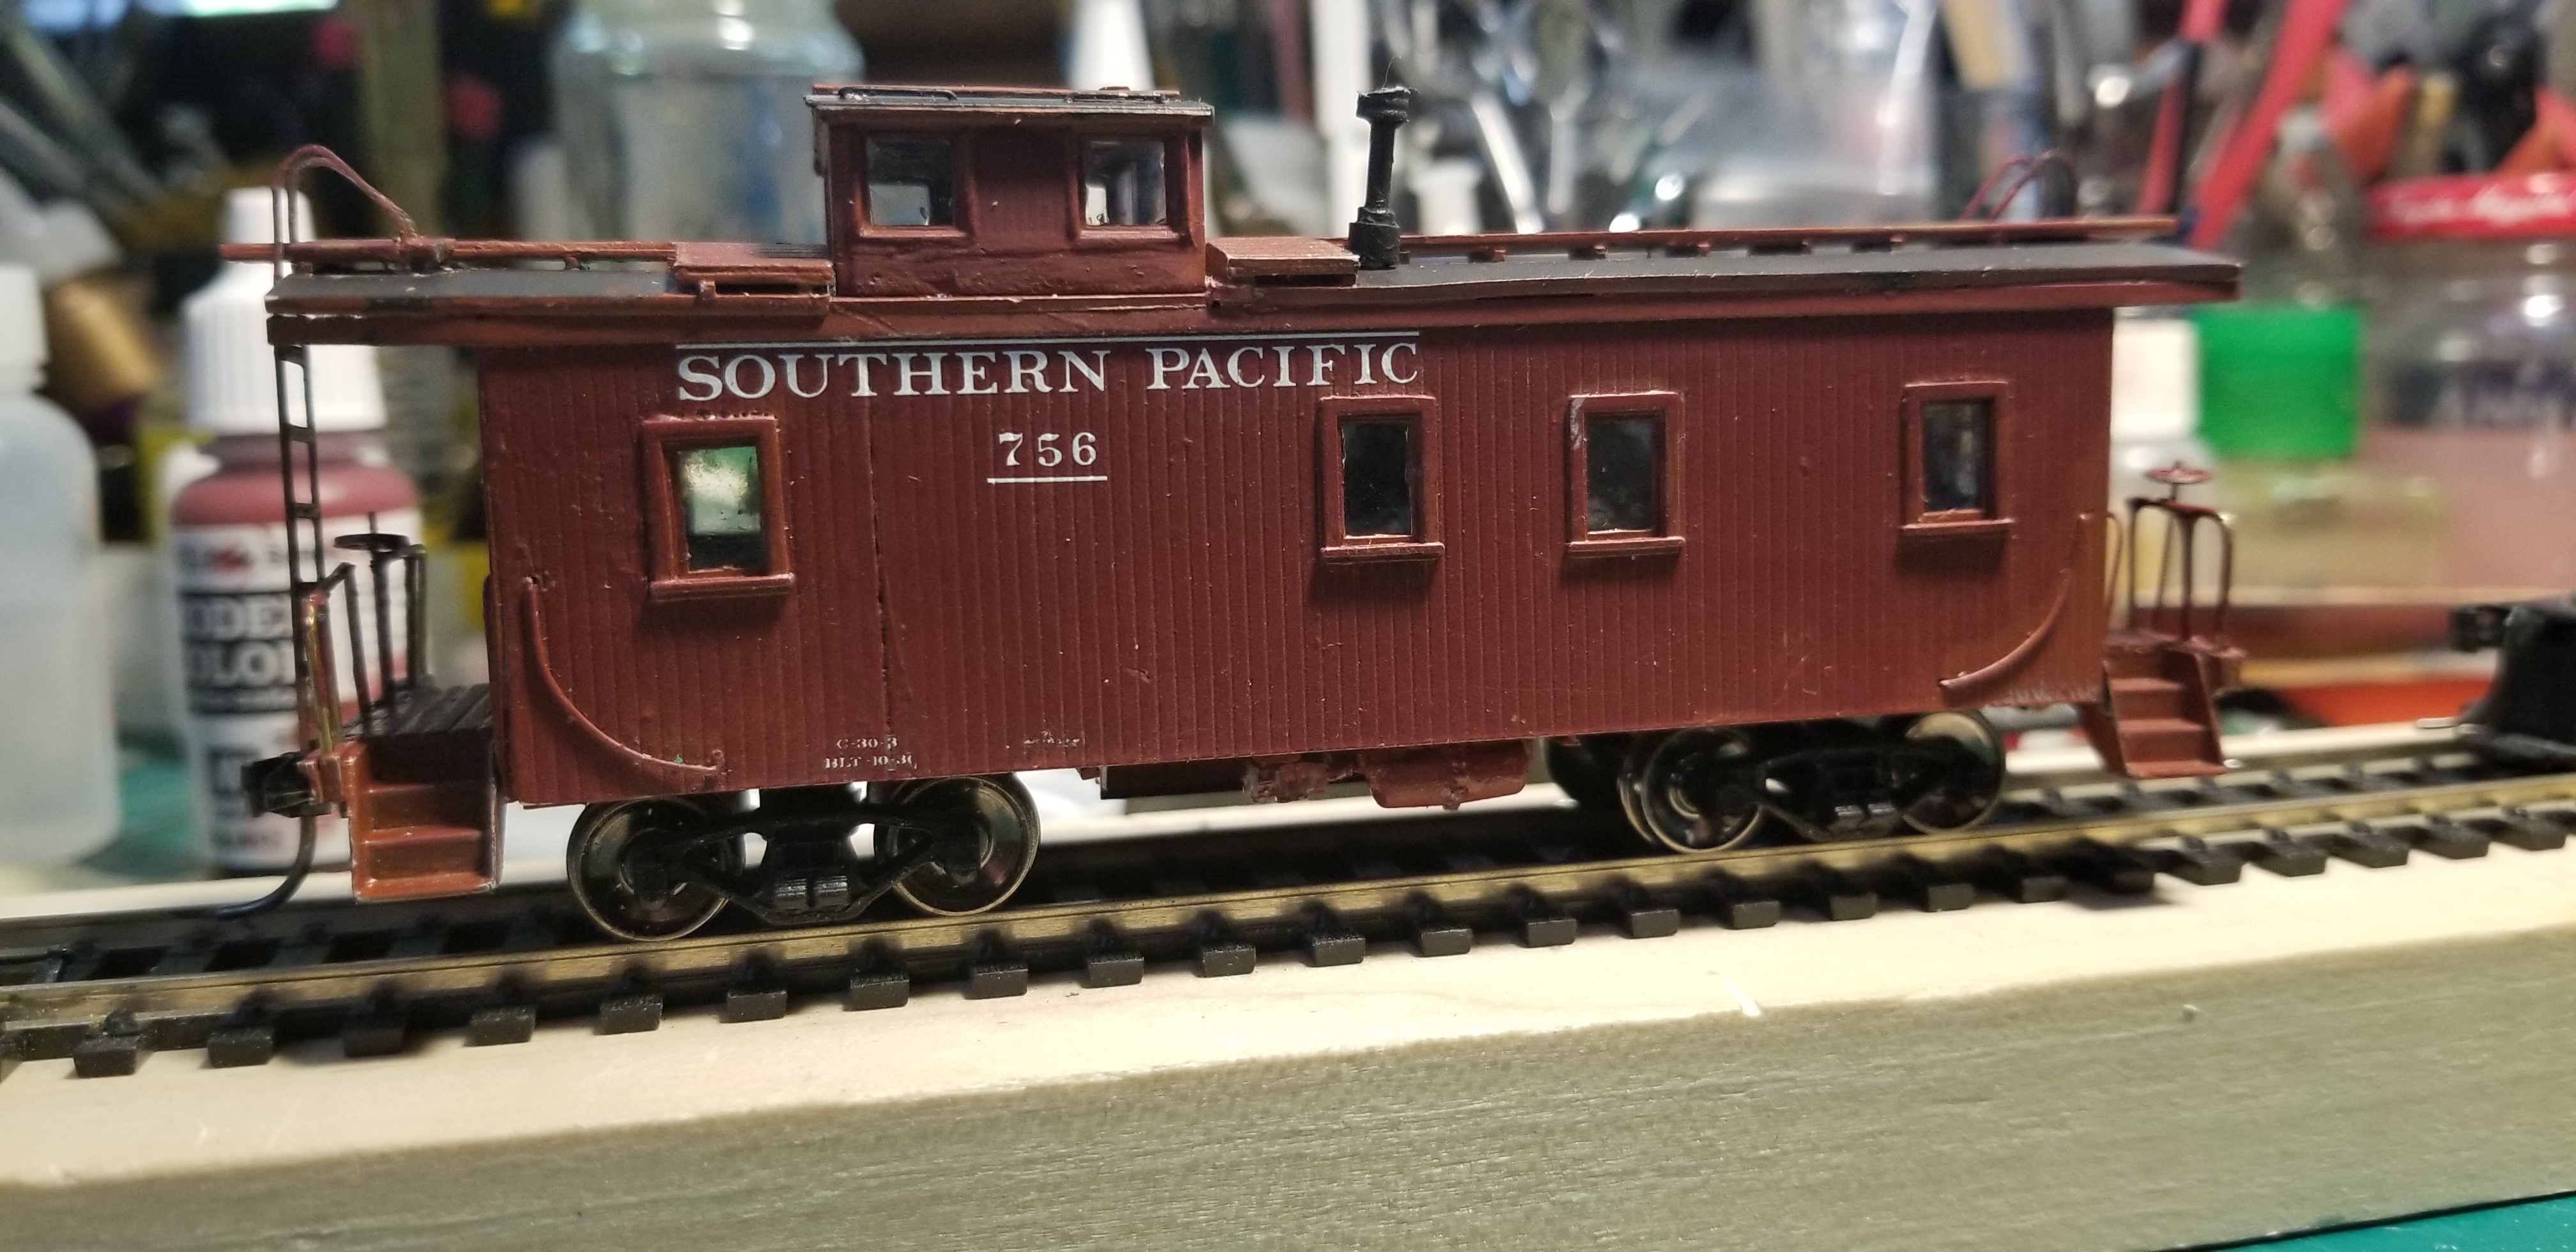

The 756 number chosen by looking at similar rebuilds. The model is sort of unique or inaccurate in that tool box not removed in rebuild. The tool box was scratch built from Evergreen shapes and siding sheet. The sides are scratch-built. I started on those in 1980's. I re-cut them from new Evergreen Car siding in May-June 2020 based on accurate drawings and photos from Thompsons SP Freight Cars Volume 2, SP Cabooses and a laser cut wood AMB kit which is still not completed for a C-30-1 rebuilt caboose.
The side windows are Tichy 8206 Work Car Windows with Glazing. The 4 pane muntins have been removed. Tichy's plastic glazing was used held in place with canopy glue for the side windows. PSC Brass Caboose Windows with bars and scratch built 2' narrow doors were used for the ends. The end windows and doors have not been glazed. May I'll do that later. The cupola is two cupola's from MDC/Roundhouse WP caboose kit spliced for additional length. Cupola glazing is from Tichy Work Caboose set. The end platform and steps are also from an 1980's MDC/Roundhouse WP caboose kit.
For ladders I used Athearn Caboose windows flat stamping as a stand-in bent to SP shape until something better comes along. A lot of angst and attempts to bend brass bar stock and drill for ladder rungs. Also attempts at finding a 3 D print. Have approached several sources for possible etch for styles as I have copies of the SP drawings. The real ladders are two parts with the top above the end rail and bottom below the end rail joined by bolts through the flattened end railing.
For the brake gear, only major components were modeled. I have a partial diagram of AB application for C-30-1 or C-30-3 rebuilds. Only found one photo showing rebuilt brake gear from side. I gave up on doing full brake rigging. I wound up using a Tichy cylinder and triple valve. I initially tried to use a larger Kadwell (3D print) reservoir but it didn't didn't adhere with Zap plastic glue and so replaced it with a slightly smaller reservoir from Tichy 8013 AB brake set. I used Tichy brake wheels and a part of the gear under the end of the rear platform.
For trucks I used Walthers friction bearing leaf spring. I am still looking for plastic Andrews leaf spring trucks. For couplers my now standerd Kadee 158 in Kadee narrow boxes were installed.
The smoke jack is scratch from Evergreen Plastics tube shapes. Supporting guy wires may be added if I am in the mood. The underframe and floor is scratch built as are all end railings which were scratch built from SP C-30-1 appliance drawings from the CSRM that were posted along with the ladder drawings on the espee.groups.io site a couple of months ago. The handrails were bent based using the AMB SP C-30-1 Caboose kit bending jig.
As I have to work indoors for paint I use SP BCR Red Vallejo MC 70-814 Burnt Red which I find makes a very good darker maroon version of the SP freight car red found on cabooses. The roof is Tamiya Dark Iron. In the photo below you will see the ends of the end handrails and curved handrails have been painted white.
For decals I have used the excellent Protocraft HO SP C-30-1 set which matches SPH&TS SP Freight Lettering Diagrams book. I sealed the burnt red during very quick visits to my outside deck so I could use a spray can of Tamiya Clear Semi-Glosa on the overall body before adding the glazing. I then brushed on J&J Clear/Pledge Future (whatever J&J marketing calls it this year)on top of Vallejo paint for area of the decals. I made another quick trip outside on the deck to seal the decals with spray can Tamiya Clear Matte.
This is the current active caboose lineup. Port Costa always seems in photos to have quite a few SP C-30-whatever cabooses on sidings for use on local switching runs. Cabooses were used even though they were technically within yard limits which stretched for miles between Oleum and across the Carquinez bridge to Benicia.

The first two cabooses on the left are somewhat battered Walthers C-30-1's that are over 15 years old and were built from the first Walthers kit issue. They need replacement ladders and a lot of other fix ups. Next comes #756 as described above and then another of the 1980's scratch builds which is unlettered and has a lot of dimensional errors. It more resembles one of the earlier CA cabooses.
The cabooses in the photo above are on one of the unconnected west end staging tracks which are 3 feet long pieces of flex track. The week before labor day I worked on the trackage in that area which has connected storage tracks for 16 40 foot car lengths and space for 2-3 unconnected pieces of track. At the back of the 18 inch wide extension are the east and westbound SP main lines. The trackage in this area is subject to a lot of changes as I build the mainlines around the corner bend to run at the rear of the main vignette of Port Costa.
No comments:
Post a Comment